1/23/12

I'M IN THE MOOD... FOR LOVE

Its starting to look LOVELY around here. I did some Valentine crafting and decorating today.  I love to decorate the hutch in my kitchen for every holiday.  I use a set of red dishes with white snowflakes from December through February and mix in a couple mis- matched pink and white dishes. It is still a work in progress. I am trying to find something to put in the glass apothecary jars (bottom left) and I am going to make some cute Valentine favors with the striped straws (bottom near middle). Stay tuned...
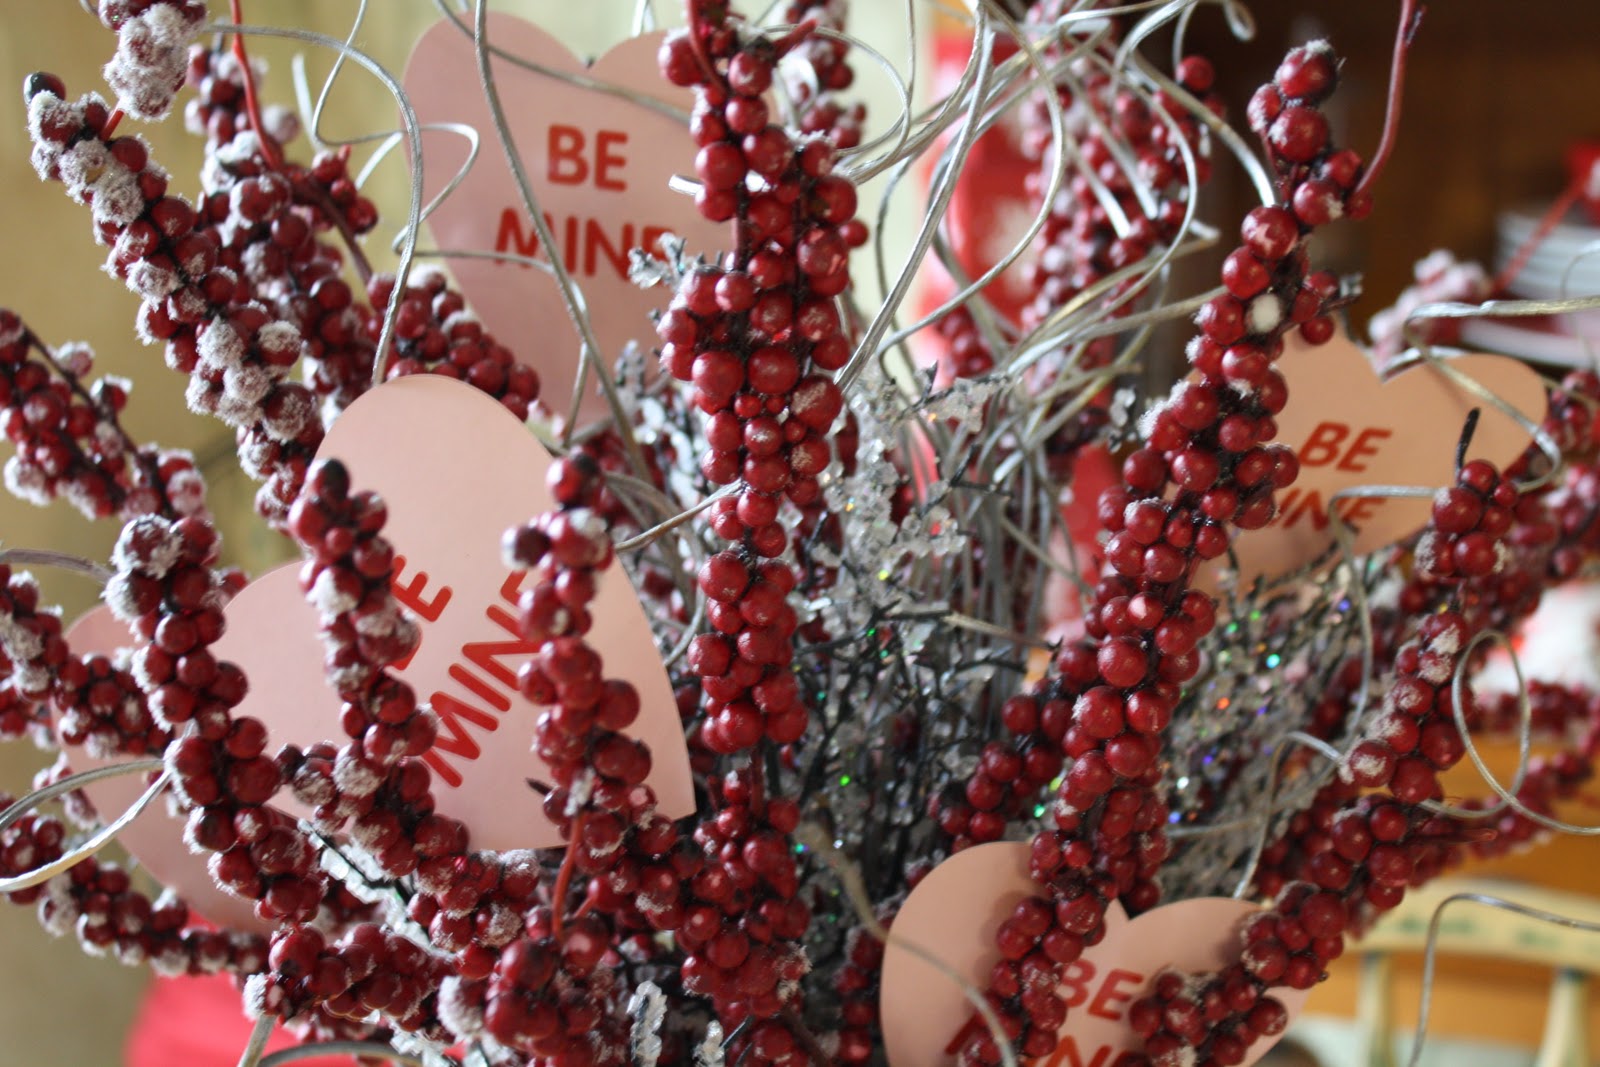
I use  this galvanized canister filled with snowy berries and spiral twigs for Christmas. I added pink hearts to give it more of a Valentine feel.

This wreath with glass hurricane is one of my favorite (all time) decorations. I add extra berries, pearls, lights, and valentine hearts to give it a different look than at Christmas. It sits on a small side board in my entrance way. I just love it.

I love these vanilla scented  flame less candles. Not only are they battery operated, they are on a timer too.  I got the first one for a gift a couple years ago and  the same friend has got me one for  my birthday and this past Christmas. I just love them. I think I need to tie a red and pink bow around them. What do you think?

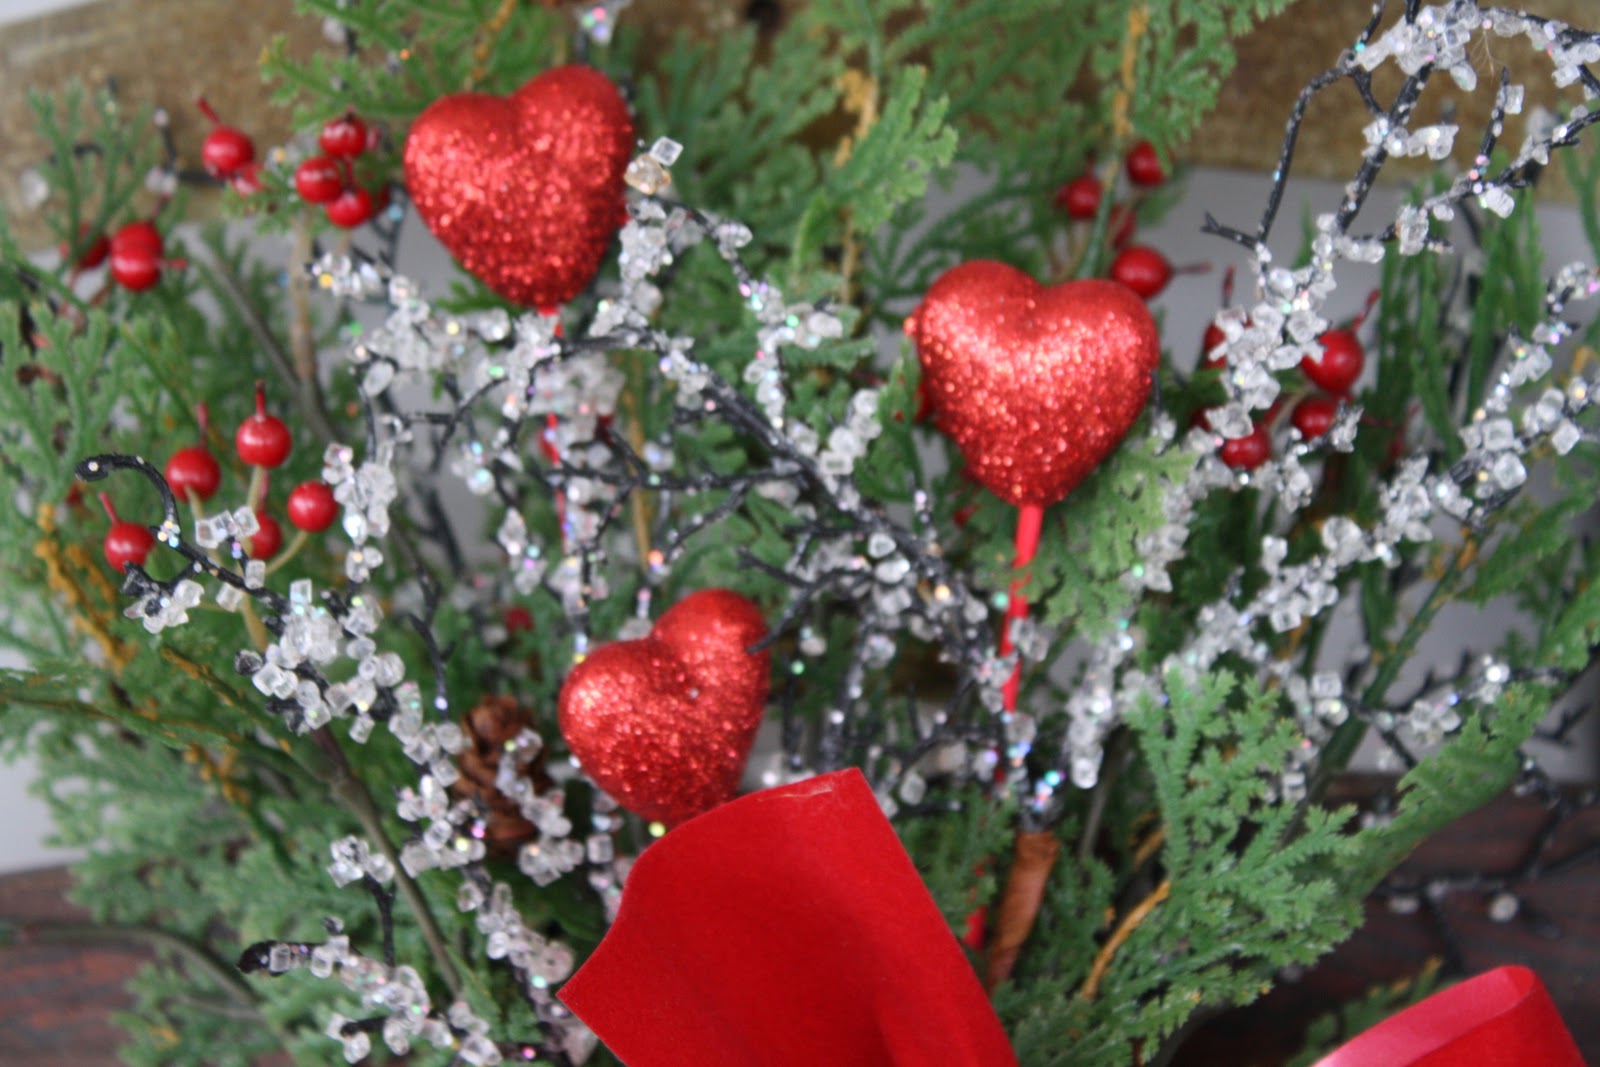
I simply added a glitter heart and some hearts picks in the greenery on my old sled. This sits on my front porch through February.
Stay tuned to see my Valentine favors, and wreath.

CHINESE NEW YEAR- YEAR OF THE DRAGON

At midnight on January 23, 2012, Chinese people around the world will welcome the new year, ushering in the Year of the Dragon.
  My youngest and I celebrated a little in our home yesterday.  As I looked in the fridge/ freezer to see the ingredients I had on hand, I decided to use the bunch of Bok Choy I purchase earlier this week and  frozen chicken broth. Based on those ingredients  I researched recipes on the Internet and decided to make a light and filling soup. I decided to make egg rolls along with it. (I did have to run to the store to pick up a few more things to make the rolls). While at the local store I could not pass up the fresh rolled sushi so I picked up a couple veggie rolls. Dinner turned out delicious. It was pretty easy too. I apologize, I did not take pictures and I am using photos from the web.
Bok choy or pak choi is a Chinese leafy cabbage. It is very low in calories but rich source of vitamin C, and vitamin A. I think it truly is delicious. I love it in soups, salads, and stir fry. (image from google).
(image from google)
SOUP
3 cups of chicken broth
10 leaves of chopped bok choy
2 tsp soy sauce
2 tsp sesame oil
1 tsp red pepper flakes
1 garlic clove, minced
1 chicken breast, cooked, chopped
dried mushrooms, rehydrated according to package (optional)
Bring broth to boil in medium saucepan. Add mushrooms. Stir in seasonings. Add chicken and bok choy. Simmer for up to 10 minutes or until leaves are dark green, wilted, and tender.
serves 4-6 people.
(image from google)
A lot of grocery stores sell EGG ROLLS already made up but, if not, you can always find them in your freezer section or of course make them on your own. There are many recipes and step by step directions on the Internet if you want  to attempt this. If you make your own, the veggie filling can be roasted on a cookie sheet in oven and the wrappers can be purchased in your Asian ethnic food aisle. You can use the stems left over from your bok choy  as part of your filling. I  baked then fried these in a pan on the stove in sesame/ veggie oil. YUM!

1/6/12

SALE A BRATION 2012


FREE PRODUCTS START HERE!

CHOOSE ONE FREE ITEM FROM THE BROCHURE FOR EVERY $50 YOU SPEND.

HOST A $150 WORKSHOP AND EARN FREE PRODUCTS AND A FREE SHOPPING TOTE.

HOST A $400 SHOW AND EARN 3 FREE PRODUCTS (pgs 6-7).

JOIN STAMPIN UP AND BECOME A DEMONSTRATOR AND EARN A FREE PAPER PACK EACH MONTH FOR THE REST OF THE YEAR ON TOP OF MANY FREEBIES.

DON'T LIKE PAPER? INTO DIGITAL? EARN FREE DIGITAL DOWN LOADS EACH MONTH FOR A YEAR.

CHECK OUT THE SALES PROMOTION HERE.

Stampin Up Occassions Mini Order Period


The new mini catalog order period has started. Its running from 1-4-12 to 4- 30-12. There are some great items in the mini including:

Framelits Dies- similar to nestabilities.
Lg sizzlit lace doily die- similar to nestabilities and others
lazer cut cards- Valentine theme
smooch spritz- similar to those from other companies
dazzling details- similar to stickles
fabric
lg sizzix die cuts- use for quilting or paper crafting
scoring tool (was in last catalog)
sticker flowers
hat pins
scrapbook kits
journaling cards
pearl and pink gem accents
trinket charms
XL paper rosette die
brads
twine (spring colors)

Hopefully all on my mailing list have had a chance to look at things. Those of you not on my mailing list can check things out here.

YEHAW

 Everyone has a little country in them , right?
 Non SU! stamps, embellishments, and papers.

12/10/11

CHRISTMAS CARD DISPLAY IDEAS

Those of you that follow my blog have read in previous posts that I really enjoy PINTEREST website. I am on that site more than facebook these days. Its truly an ingenious website (wish I thought of it). Anyway I have come across hundreds of great ideas and wanted to share some Christmas ones with you.

Here are some ideas from PINTEREST for displaying Christmas cards:


Aren't they lovely ideas? In the past I have taped cards to walls, around doors, hung on wreath holder on entryway closet doors, put in basket, put in small metal sleigh, stuck in pine wreaths and various other things like that. This year I did something different- I made a paper chain and attached to chain with Holiday clothes pins. I needed something to dress up my bare windows. (We've lived in our house nearly 10 years and I have no ideas what to do with curtain situation in my front bay window. This was always a "temporary" thing but, its never been changed). Any ideas for the window space, please, let me know.

How do you display your Christmas cards? I would love to know or see your ideas. Feel free to comment and share a link. Thanks for stopping by today. have a great weekend.

11/21/11

Who would have thought you could tie bows like this

I love Pinterest! Have any of you joined yet? I learn many things each day from that site. Cannot get enough. Here is a couple ideas on how to tie perfect bows.
Crazy cool huh? But wait... it gets better, here is another one.

Anyone ever tried this? Let me know how it works. Send me a link or picture.
Happy Crafting.

11/20/11

Stampin' Up! Promotion

ATTENTION STAMPIN' UP! CUSTOMERS!!! Start your holiday shopping Monday, Nov. 21, as Stampin' Up! launches their On-line Extravaganza. This event was a huge hit last year and promises great savings and deals. The On-line Extravaganza ends Nov. 30

Here's a link to get started: http://www.stampinup.com/ECWeb/CategoryPage.aspx?categoryid=776

You can order online, pay with credit card, just enter my name at the time of checkout to get preferred pricing plus discounts.

11/7/11

CARAMEL APPLE DESSERT PIZZA

This is one of my favorite apple recipes. I used to make this pizza all the time. I have not made it in years (maybe 5 years). As I was going through some old recipes I came across it again and made it the other day for dessert. Everyone loved it...just as they did years ago. My original recipe came from The Pampered Chef (home parties).

I bake mine on a pizza stone but you don't have too. You can use a pizza pan of any style. The original recipe calls for Granny Smith apples, I use any tart cooking apple (Gala, Pink Lady, Fugi, etc...). It truly is a yummy dessert pizza. Goes great with a cup of hot mulled cider.

CARAMEL APPLE PIZZA
1 pkg of refrigerated sugar cookie dough
1/4 C creamy peanut butter
1 8oz block of cream cheese, softened
1/2 C packed brown sugar
1/2 tsp vanilla
1 medium- large apple, cored, sliced thin. (removing skin is optional)
1 C lemon lime soda
ground cinnamon to taste
1/4 C caramel ice cream topping
1/2 C chopped peanuts.
Preheat oven to 350 degrees F. Remove cookie dough from tube and roll out onto cookie sheet using floured rolling pin. Bake 12-15 mins. or until golden brown. Cool 10 mins. then remove from sheet surface (so does not stick). Cool completely. Combine peanut butter, cream cheese, sugar, and vanilla in small mixing bowl. Mix until smooth; spread over top of cookie. Wash, dry, peel, core, and slice apple. Dip each slice into lemon lime soda (keeps from turning brown). Arrange (dry) slices over top of pizza. Sprinkle with cinnamon. Heat caramel topping in microwave for few seconds, then drizzle on top. Sprinkle with peanuts.

10/31/11

HAPPY HALLOWEEN

MASQUERADE MASKS

As many of you that follow my blog know, I am a HUGE fan of HALLOWEEN. We are hosting a Costume party in the next week and I have been scrambling to make costumes, decorate, plan menus, and gather and wrap prizes. My husband and I decided to go with traditional masquerade type theme for our couple costume (well I kinda took charge and picked costumes since he likes to wait till last minute- I hate waiting until last minute for anything). He likes things a little more "scary" than me and doesn't always want to dress as a "couple".-Sorry, Mike. He is wearing a tuxedo top and cape with a Venetian Bull mask.  I am wearing a Renaissance/ Celtic maiden dress. I cannot decide which mask I will wear. I made 2 types. I am waiting for the last minute details for my costume to get here, so I can finish my costume and decide which mask will look best.

  Mask #1 was  plain black mask bought at local retail store and then altered. I bought and added many details including feathers (peacock, black, and pheasant), gold metallic paper swirls, rhinestones and gold pearls, glitter details and ribbons. I added SU! crinkle paper around the edges. After I attached the crinkle paper I thought a small black lace trim would have been good with the paper ruffle but, it was too late.


After looking at the mask a couple days,  I decided to add some more embellishments. I added a paper rosette with teal, black,and gold papers. I added some brass hardware in the center and decided to add a stick (handle) with ribbons. The mask functions without the stick (handle) or with the stick. I thought the handle gave it more authenticity.


Mask #2 was in the trash a couple times. My friend picked it up for me at local craft store It was bought for me to disassemble and use the feathers on the first mask (It was cheaper to buy this pre-made mask than to buy bundles of feathers). I added stickles, puffy paper paint to each sequin. I made one side of the mask black with white around the eyes and the other side is white with black around the eyes. I added pink around the edge. I added a hair clip (pre- assembled black and pink) then one feather plume (meant for pens). I cut out some  paper swirls and made a paper rosette. I am still trying to decide if I will add some silver crinkle paper around edges like the first mask. This one is definitely more modern that the other mask. Would look great with a formal black dress, but not the dress I bought. :(


10/25/11

PAPER POM- POMS

I used to make tissue pom poms for all kinds of occasions when I was young. My mom taught me how to make these when I was about 8. We made them for baby showers, weddings, birthdays, Easter, etc... Back then we used Kleenex tissue mostly.

These are becoming popular again and I have seen them on many blogs. They look great hanging above a buffet table, on the table as centerpieces, tied to the bumper of a wedding car, the ideas are really endless.  I rounded the edges of the big black one and made the orange ones 1/2 the size and the edges jagged. I think the orange ones look like mums- don't they?

Here is a link on how to make them.
More ideas can be seen on Google. (I don't know how to link to Google). Just put in-
 How to make Tissue Pom Poms.


10/24/11

HALLOWEEN CARDS

Here are my Halloween Cards this year. Loved these images from the minute I saw them. I had so much fun coloring them using Copics. Used SU! retired Halloween papers. Used MS edge punches. Added SU! punched bats or a plastic spider with some added MS glitter.

Be Wicked! Frank's bride...

Good Ol' Frank...

I want my Mummy!

10/4/11

FALL GIFT BAGS

I glued the flap (bottom) to the bag. This will keep goody bag from standing up. You can place candies, hair/ face products, baked goods inside the bag this way. It looks lovely filled,  laying on plate at a table setting.  


I attached misc orange papers to the bags in strips. I used black ink and stamped stitching to the strips. (This is my kind of sewing) ;0
I added more small strips (scraps) to tags, stamped more stitching, and trimmed the edges to fit the tag.

I love these cheap craft foam glitter stickers but for the look I was using on the bags these were a little to bright. I distressed the stickers with brown ink.

I inked mini clothes pins, distressed edges of tags and bags to achieve final look.
What do you think?


10/2/11

HALLOWEEN APOTHECARY JARS

I have seen these jars on numerous blogs for weeks now. I love them! They are quite popular in the decorating world  but are also quite expensive. After some investigating I decided to make some. I love how easy they are to make.
I bought the pieces at a local craft store and painted all the raw wood with black craft acrylic paint.

Acrylic paint is perfect for painting wood. It covers nicely and dries fairly fast. I did not spray with protective covering. I figure if it gets bumped, scratched, or nicked it would add character.

I attached the ball knobs and wood bases to the glass with a glue called E6000. Great stuff!
Use in a ventilated area. It does have strong fumes for a glue.

I bought some cheap rubber spiders that already were painted green on their bodies. I just added some fine green glitter to add some dazzle.

I attached these spooky spiders to the base of the stand. They look perfect! I tied black lace, black ribbon, and some multi color (fall colored) fibers to the bottom of the glass and at the base. I am pleased with how the apothecary jars turned out.I made 3 tall (featured here) and I made 3 shorter.  I have given one to a good friend (filled with chocolates) and I have plans to give a couple more away.
Here are some links to some more cute apothecary jar ideas:


10/1/11

OCTOBER IS HERE

Well, October is here and boy does it feel lke it. Its in the 40s, rainy, and gray. I love Fall but I am not fond of the dampness that comes along with the cool weather. I plan on starting my Fall decorating around the house sometime today.  Halloween is my very favorite Holiday and I have sooo many  cool things to decorate with. I have been playing around in my craft room (wow is it a messy place right now) and making some more spooktacular things.
Yesterday was my 16th wedding anniversary and my husband surprised me with the most adorable handcrafted Haunted House. It is made by a local artist Mike Peterson. We have admired this artist's work for many years at a local art festival ( The Yankee Peddler) held near our house every September. My husband special ordered this piece to include characters (husband, me, and our 2 daughters), and our Name and interests.
Here is a front view of the house.  
Here's a closeup of the same view. That is me standing in the doorway. Hahahaha. My girls thought that was the funniest thing.
here is a rear view of the house.

That is my husband sitting on the back porch, yes, that is a can of beer in his hand. The artist added a fish to the top of the porch (my husband likes to fish).

here is a side view of the house. If you look closely you can see the artist added my girls here. Both have softball bats in their hands. Hahahahaha