3/2/12

St Patrick's Wreath

I'm at it again, Holiday wreath making again. Its hard to believe Spring is right around the corner. I love that thought.
I used:
 1)  12" styrofoam wreath form from the Dollar Store
2)  1/2 yard fabric
3)  ribbon scraps
4)  two 8 x 11" sheets of cream felt
5)  two 12 x 12" pieces of green patterned paper
6) fabric pinwheels sewn at previous time.
7) hot glue
8) Shamrock  Sizzix Diecut.
1) Cut fabric into 2" strips.

2) Wrap fabric strips evenly around styrofoam wreath form. Hot glue at beginning and end.
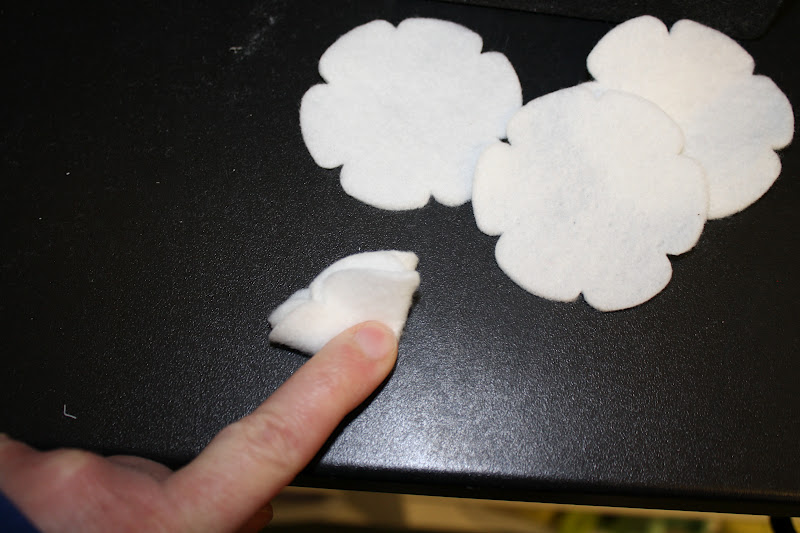
3) Make felt flowers following previous tutorial post.
 4) Loop ribbon and glue to the top of the fabric yo- yo.
5) Glue the flower on top of that.

Here is a glimpse of the flower bases and the shamrocks I had to choose from.


Thanks for stopping by. I hope I have  inspired  you to make something with felt flowers this week. Happy crafting, cooking, and whatever else you do.

2/29/12

Felt Flower Fun III

Here is another quick tutorial. Today I used Stampin' Up!'s #121812 Fun Flowers Die cut to make the flower barrette. Cut 5 of the same flowers. and follow steps from previous tutorial to assemble. I stitched the flower onto the barrette. VIOLA!!!

2/27/12

Felt Flower Fun

Sorry its been so long since I last posted. Its been so busy and somewhat caotic around here. We've had illnesses, different working shifts, death, surgeries, rehabilitation, and now my oldest is home with the stomach flu today. YUCK!!!! Needless to say I have not had time nor been in the mood to craft up until today. After I picked up my oldest from school, I decided to stay in my sweats and "get crafty".
I played around with my felt and sizzix machine. I love, love, love my sizzix!!!!!!!
Look what you can do with a:
1)  flower diecut,
2)a 8.5 x 11 inch and scrap piece of felt, 
3) a metal headband, and
4)  hot glue.

1. ) I used the Sizzix Flowers Layers #5 Diecut. to cut 6 flowers in the same color felt.
2.) Cut a circle out of same color.

3.) fold each flower in 1/2

   4.) Fold in 1/2 again (like above).

5.) Cut the tip off.
6.) I glued 4 flowers around the felt circle. Then I added the last two folded flowers to the center to make the finished flower full.
I cut out a couple leaves with some scraps then placed the entire thing on a thin headband using hot glue.

VIOLA!!!!!!

2/5/12

RECYCLED BOXES PART 2

Okay, here is a recycled oatmeal canister that my daughter and I covered with glossy paper a while ago for a school project. Its made to hold headbands on the outside and brushes, hairbands, etc... inside.

I pieced together a couple pieces of 12x 12" paper to fit around the canister. Glued it with hot glue and 2 sided tape. Glued and tied ribbon around canister bottom. I found a  small melamine bowl at a local retail store and have used it for many years for various things. I decided to attach it to the base of the canister (inverted) to give more drama.

I used SU!/ Sizzix # 121812 Bigz L Die  and #1149854 1 3/4" Scallop Circle Punch to make the flower that I added to the top. I sewed a fabric yoyo with coordinating scraps. The flower is mounted on top of the fabric yoyo. I used decorative buttoning for the center and red and white twine threaded through button and tied in bow.

2/3/12

RECYCLED BOXES PART 1

(After)
 I came across these lovely boxes that I had saved  for a couple years while cleaning off some shelves in my basement. I forgot about them. The boxes are very sturdy and once held a gift set of my favorite bath and body products. I thought they were the perfect size to store stuff and that the ribbon closure was unique and decorative. So while leaning things out, and trying to get some things rearranged and organized I thought I would alter these and put them to use.

(Before)


I measured each side of the box and cut paper 1/4" less on each edge- top, sides, bottom, and inside. I used a glossy top paper from a 12"x 24" tablet I found at a local craft store. I LOVE everything about this paper! Its glossiness, size, patterns are perfect!

I used a floral #121812 FUN FLOWERS Bigz L Die from SU!/ Sizzix to cut out my flowers from felt. I cut one flower up into pieces to make the leaf.  I used some coordinating fabric scraps and cut circles and sewed them into yoyos.
I layered each pieces and assembled with hot glue. I glued a decorative brad, and glued the entire flower onto a paper doily onto the top left corner of the box.
This one wildly matches the colors/ decor in my living room. I plan on using it in there. Not sure for what...yet. I am using the grey one (bottom box in first picture above) in my bedroom. I am storing my large/ bulky bracelets in it.  I am doing some minimal changes in my room  and  this matches the decor (grey and navy).

1/26/12

VALENTINE FAVORS

A couple weekends ago I went on a scrapbook retreat with some friends. 

I made these little Valentine gift ensembles for the girls that attended the retreat. I bought cinnamon scented small pillar candles at the Dollar Store $1 each. I placed each candle on a red polka dot cupcake paper and a small paper doily base. I used up some older patterned Valentine Paper, Stampin' Up!  Red Glimmer paper #121790, and some retired Stampin' Up! ribbon to add some adorable hearts on the front of each candle. I found some adorable red glitter take out boxes at Target before Christmas that matched the Stampin' Up! Glimmer paper perfectly. I added some matching hearts and accents using more of the retired patterned paper to the front of the glitter boxes.
I added some pattered paper and colored stamped images to the fronts of cherry hearts candy boxes to match the rest of the items. Then I attached a punched red glimmer heart and a chocolate heart to the top left corner.
Here are a few of the cards I made for each of the ladies. They are adorable just the way they are or they can add them in their scrapbooks. I love the vintage look they have.


1/25/12

Lizard Love

Another card I submitted for a magazine card contest. LOVE... LOVE... LOVE  this one! I used an older retired  SU! Green Galore striped paper  and coordinated it with Melon Mambo and Black cardstock.
 
I just love the layers, the colors, and the embellishments. I think I will give this one to my hubby.

1/24/12

SALEABRATION HAS BEGUN

ITS MY FAVORITE TIME OF THE YEAR... BUY PRODUCTS AND EARN SOME FREEBIES. WHAT COULD BE BETTER? THIS IS THE TIME TO STOCK UP ON CARD STOCK, INK, TAPE REFILLS, RIBBONS, OR PUNCHES AND EARN FREE STAMPS. FOR EVERY $50 YOU SPEND YOU EARN FREE PRODUCTS FORM THE BROCHURE AND/ OR VARIOUS ITEMS FROM THE CATALOG. HERE IS MORE INFO FROM A PREVIOUS POST.

WREATH OF LOVE

I bought this wreath (plain red rose on grapevine base)  from a local drugstore after Valentine's day two years ago. It was super cheap, otherwise, I would have made it on my own with a 14 inch grapevine wreath and multiple bundles of silk red roses. Both are available at most craft stores and some dollar stores. Remove all red roses and some leaves from bundle stem and hot glue around wreath fitting tight and filling up entire front and side surfaces. It definitely uses a lot of silk flowers. You could buy multiple colors or all one color just like mine.
I found glitter heart picks in pink and red in 2 different sizes at the Dollar Store. Each pack contains 7 picks and were $1. I bought 3 packs, 2 packs of the small red ones and 1 pack of the pink ones. For my wreath I used a total of 11 of the small red ones and 7 large pink ones. I had 3 small red ones left over which I used in a flower/ berry bundle seen in previous post.

I broke the wood pick (stick) down to 1-2 inches from the top (heart) and randomly placed around the wreath. I used hot glue to attach. I made a bow with the spool of pink sheer wire edged ribbon also found at the dollar store for $1. The ribbon is 2.5 inches wide and  contains 3 yards, the perfect length for one 6 inch bow. I made the bow using this tutorial
I did not stop there. I used the Stampin' Up! Petite Pennants Builder #122361 punch to make an adorable banner of LOVE across the wreath. I added small white chipboard letters to each piece spelling out  love! I hot glued the triangle pieces onto red grosgrain ribbon and attached the string to the wreath with heart topped straight pins.


1/23/12

I'M IN THE MOOD... FOR LOVE

Its starting to look LOVELY around here. I did some Valentine crafting and decorating today.  I love to decorate the hutch in my kitchen for every holiday.  I use a set of red dishes with white snowflakes from December through February and mix in a couple mis- matched pink and white dishes. It is still a work in progress. I am trying to find something to put in the glass apothecary jars (bottom left) and I am going to make some cute Valentine favors with the striped straws (bottom near middle). Stay tuned...
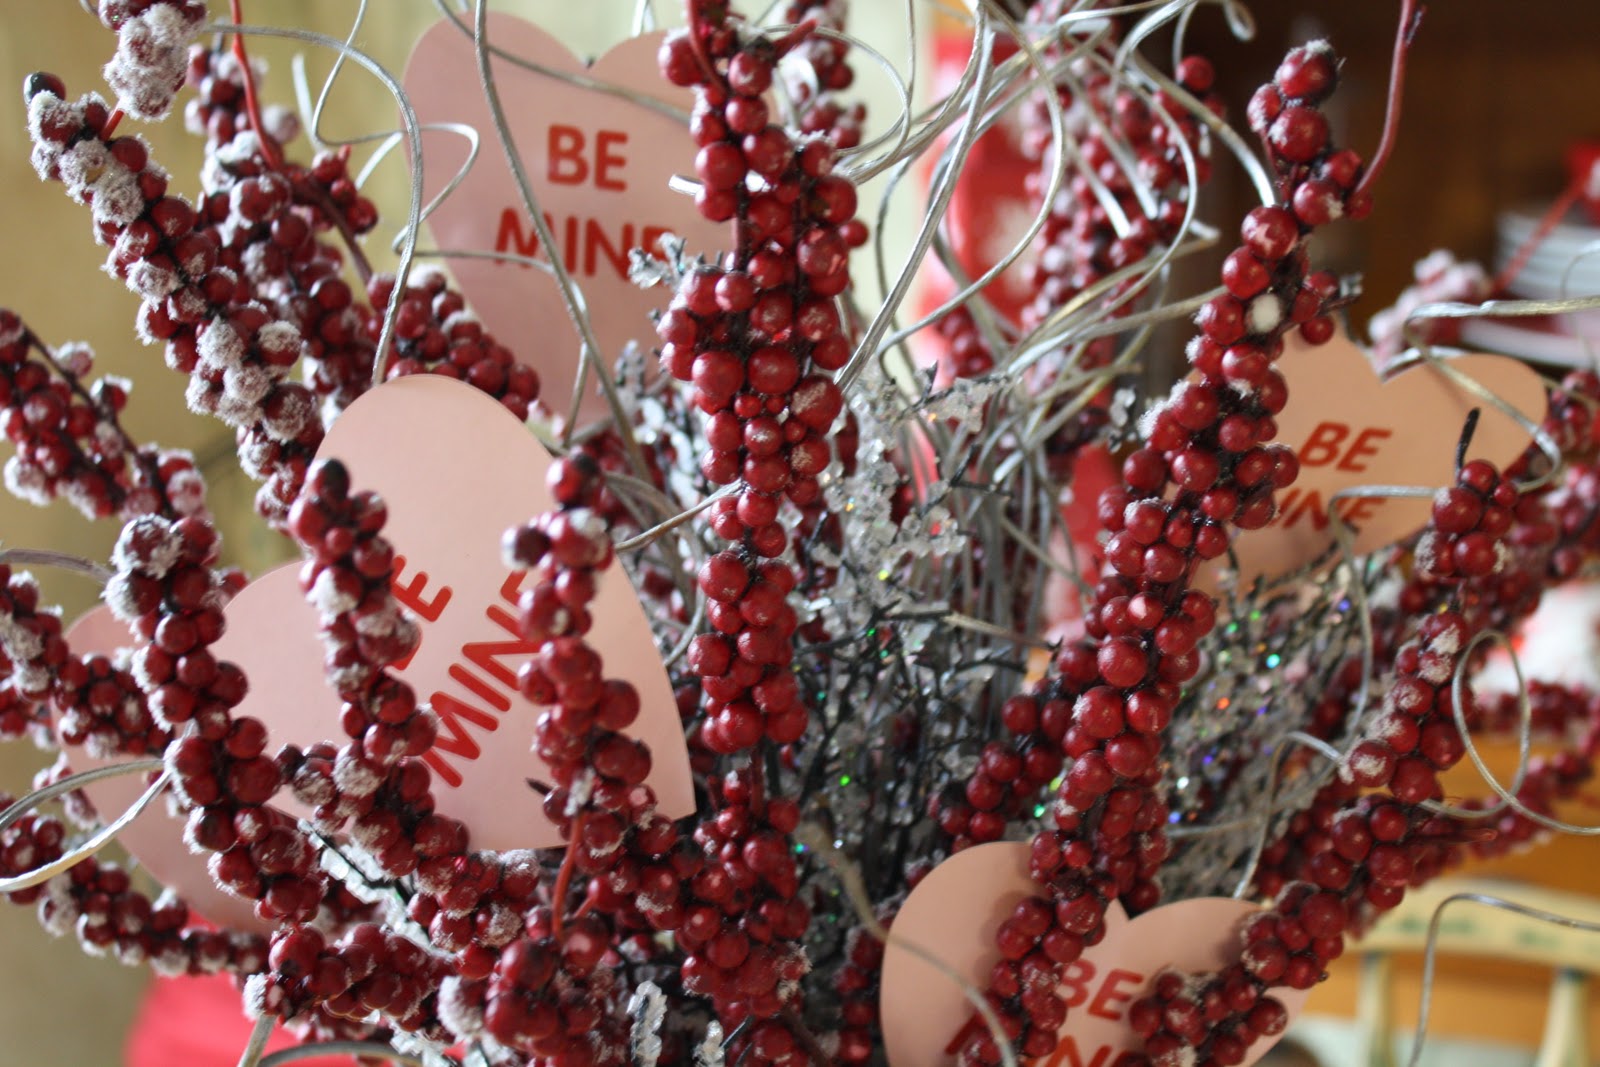
I use  this galvanized canister filled with snowy berries and spiral twigs for Christmas. I added pink hearts to give it more of a Valentine feel.

This wreath with glass hurricane is one of my favorite (all time) decorations. I add extra berries, pearls, lights, and valentine hearts to give it a different look than at Christmas. It sits on a small side board in my entrance way. I just love it.

I love these vanilla scented  flame less candles. Not only are they battery operated, they are on a timer too.  I got the first one for a gift a couple years ago and  the same friend has got me one for  my birthday and this past Christmas. I just love them. I think I need to tie a red and pink bow around them. What do you think?

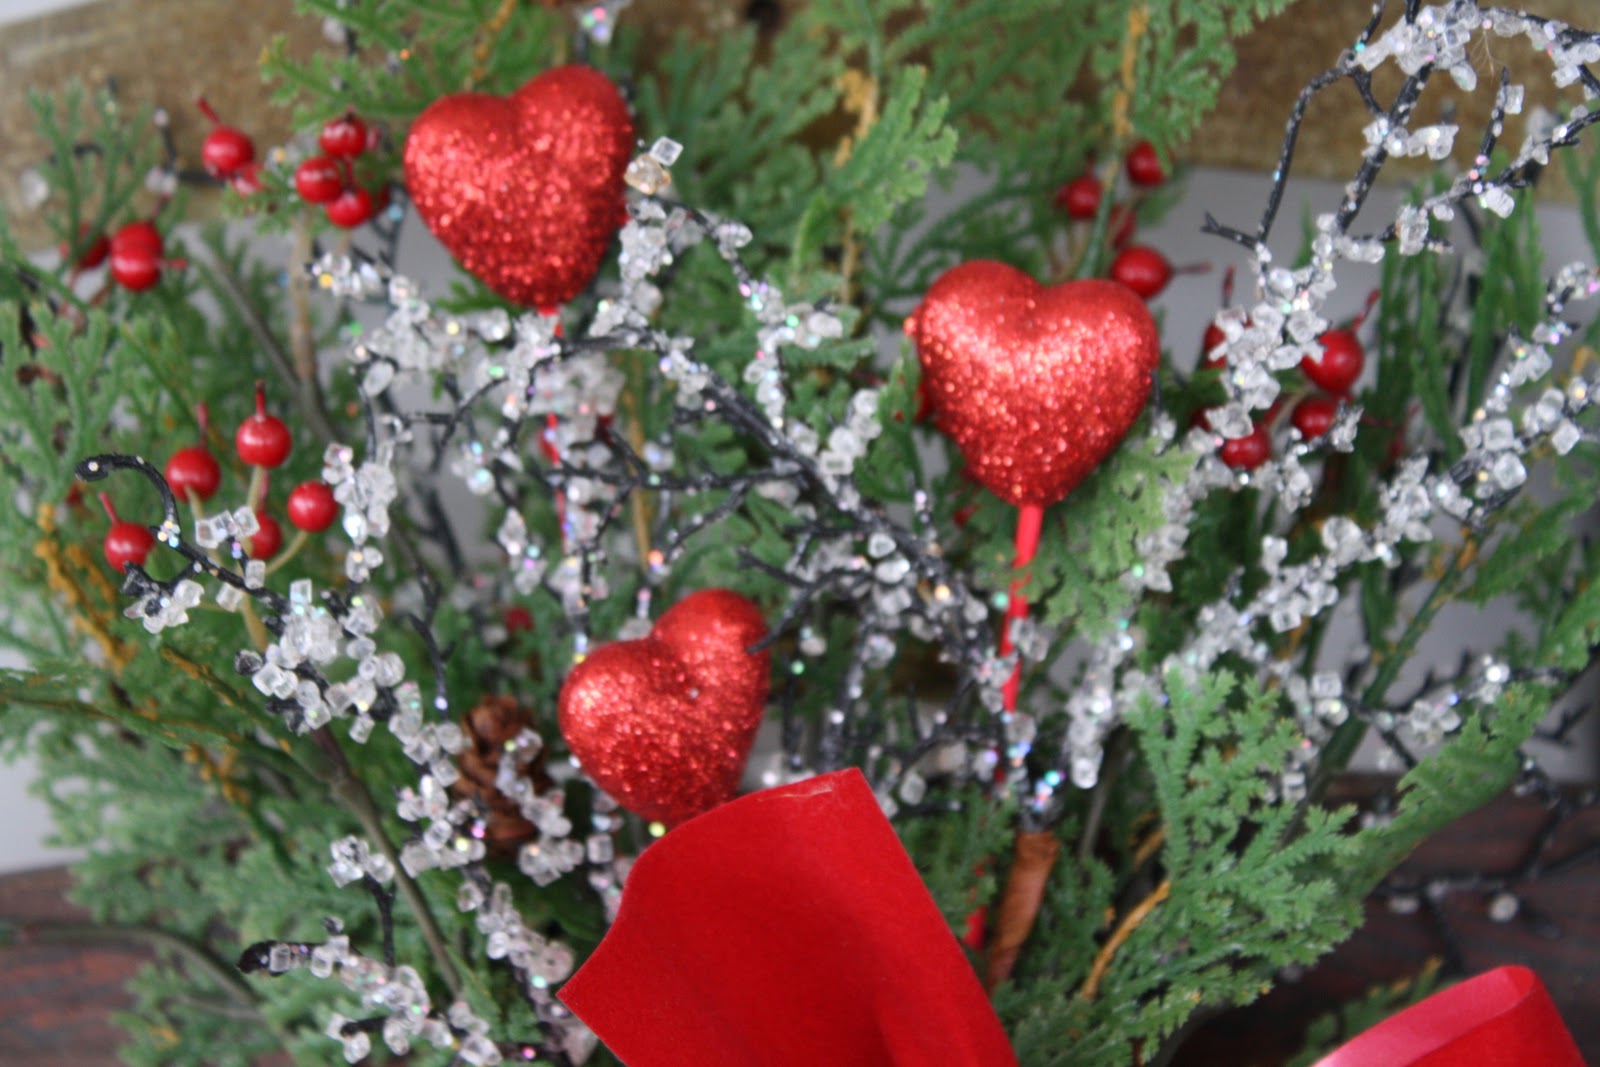
I simply added a glitter heart and some hearts picks in the greenery on my old sled. This sits on my front porch through February.
Stay tuned to see my Valentine favors, and wreath.

CHINESE NEW YEAR- YEAR OF THE DRAGON

At midnight on January 23, 2012, Chinese people around the world will welcome the new year, ushering in the Year of the Dragon.
  My youngest and I celebrated a little in our home yesterday.  As I looked in the fridge/ freezer to see the ingredients I had on hand, I decided to use the bunch of Bok Choy I purchase earlier this week and  frozen chicken broth. Based on those ingredients  I researched recipes on the Internet and decided to make a light and filling soup. I decided to make egg rolls along with it. (I did have to run to the store to pick up a few more things to make the rolls). While at the local store I could not pass up the fresh rolled sushi so I picked up a couple veggie rolls. Dinner turned out delicious. It was pretty easy too. I apologize, I did not take pictures and I am using photos from the web.
Bok choy or pak choi is a Chinese leafy cabbage. It is very low in calories but rich source of vitamin C, and vitamin A. I think it truly is delicious. I love it in soups, salads, and stir fry. (image from google).
(image from google)
SOUP
3 cups of chicken broth
10 leaves of chopped bok choy
2 tsp soy sauce
2 tsp sesame oil
1 tsp red pepper flakes
1 garlic clove, minced
1 chicken breast, cooked, chopped
dried mushrooms, rehydrated according to package (optional)
Bring broth to boil in medium saucepan. Add mushrooms. Stir in seasonings. Add chicken and bok choy. Simmer for up to 10 minutes or until leaves are dark green, wilted, and tender.
serves 4-6 people.
(image from google)
A lot of grocery stores sell EGG ROLLS already made up but, if not, you can always find them in your freezer section or of course make them on your own. There are many recipes and step by step directions on the Internet if you want  to attempt this. If you make your own, the veggie filling can be roasted on a cookie sheet in oven and the wrappers can be purchased in your Asian ethnic food aisle. You can use the stems left over from your bok choy  as part of your filling. I  baked then fried these in a pan on the stove in sesame/ veggie oil. YUM!

1/6/12

SALE A BRATION 2012


FREE PRODUCTS START HERE!

CHOOSE ONE FREE ITEM FROM THE BROCHURE FOR EVERY $50 YOU SPEND.

HOST A $150 WORKSHOP AND EARN FREE PRODUCTS AND A FREE SHOPPING TOTE.

HOST A $400 SHOW AND EARN 3 FREE PRODUCTS (pgs 6-7).

JOIN STAMPIN UP AND BECOME A DEMONSTRATOR AND EARN A FREE PAPER PACK EACH MONTH FOR THE REST OF THE YEAR ON TOP OF MANY FREEBIES.

DON'T LIKE PAPER? INTO DIGITAL? EARN FREE DIGITAL DOWN LOADS EACH MONTH FOR A YEAR.

CHECK OUT THE SALES PROMOTION HERE.

Stampin Up Occassions Mini Order Period


The new mini catalog order period has started. Its running from 1-4-12 to 4- 30-12. There are some great items in the mini including:

Framelits Dies- similar to nestabilities.
Lg sizzlit lace doily die- similar to nestabilities and others
lazer cut cards- Valentine theme
smooch spritz- similar to those from other companies
dazzling details- similar to stickles
fabric
lg sizzix die cuts- use for quilting or paper crafting
scoring tool (was in last catalog)
sticker flowers
hat pins
scrapbook kits
journaling cards
pearl and pink gem accents
trinket charms
XL paper rosette die
brads
twine (spring colors)

Hopefully all on my mailing list have had a chance to look at things. Those of you not on my mailing list can check things out here.