1/22/11

FILLED WITH LOVE CARD SAMPLES

Here are a couple cards I made using the FILLED WITH LOVE SU! Promotion containing; stamp set, papers, and free buttons. This stamp set contains many solid image stamps and some cute verses. I feel solid images work best on clean line card layouts. I tried to keep both the cards simple and sleek.


Material: Pink and red polka dot pattern from Love Patterns DSP #124156, Filled With Love clear mount stamp set #121154, Pretty In Pink CS # 100459, Ridinghood Red CS #111348, Whisper White CS #100730, Pretty In Pink Classic Ink #101301, Ridinghood Red Classic Ink #111836, Wild Wasabi Classic Ink #109014, 1" Circle Punch #119868, Bitty Buttons #118761,  Itty Bitty Shapes Punch #118309, Scallop edge Border #119882, 1 3/4" Scallop Circle Punch #119854, Pretty In Pink 1/4 Grosgrain Ribbon #109032, Red 5/8" Grosgrain Ribbon #109052, and  misc. Red and White baker's Twine.


Keep checking back this week, I have other samples of various things I have created using this stamp set, misc sizzix die cuts, rub-ons, box and pouch templates. All using this fabulous SU! DS papers and coordinating cs. I guess you can say I've been "in the mood for love"  

1/19/11

Filled With Love Bundle


Just a reminder that the Filled With Love Bundle Promotion ends January 24, 2011. You can choose wood or clear mount Filled with Love stamp set, Love patterns paper (only available right now, not in catalog), and get a package of Bitty buttons #118761 ($4.95 value) for FREE.

#124380 Wood Mount Stamp Set, Love Patterns Paper, Bitty Buttons $32.90
#124381 Clear Mount Stamp Set, Love Patterns Paper, Bitty Buttons $26.90
#124156 Extra Love Patterns Paper $9.95

1/9/11

Vintage Valentine with Paper Rosette Tutorial

Here is the project I instructed this past weekend at a Stamp Club. The ATC (Artist Trading Card) incorporates a couple techniques that I like to use on Vintage-style projects. I have given a small tutorial for the rosette below.
I used the set GREETING CARD KIDS  item #120633 from the Idea Book and Catalog. This and the WINTER POST set are my favorite Holiday sets from the current catalog. Here is a link to see the Greeting Card Kids set:  http://www.stampinup.com/ECWeb/ProductDetails.aspx?productID=120633 Now time for the tutorial.
Cut a strip of 2-sided designer paper 1"x 8.5". You can make these larger (if you make the depth larger then you have to make the length larger). I think the 1" x 8.5" is great size for card fronts, scrapbook pages, and ATC embellishments.
You will need a scoring frame. There are a couple different makers for these frames. The one I used is a new release and does 1/8" increments- It is awesome! I feel it is better than the other score frame that has been out for a few years simply because it does closer increments. Email me if you'd like to know more about this specific frame, sorry it is not an SU! product. I wouldn't doubt that they come out with something similar, they do well keeping up with the latest and greatest papercraftiong trends and competitors. 
*For this rosette I scored at 1/4" increments the entire length of the strip.  
Once the strip is scored entirely, you fold it accordian style. It should fold easily.  
Glue ends together. I like using a hot glue gun, it holds the best.
Punch a 1 1/2 or 1 3/8" circle for base. Place glue in center of circle, place paper rosette on top, press the center down and hold until glue sets. You do not see the circle it just provides stability for the rosette.
Viola! Now you can attach another rosette, button, punched shape, or a stamped image on top. You will
love making these, they are kinda addictive. hahaha
Here is a glimpse of another Vintage Valentine that I made for the gals in the stamp club. I love distressing and making things look old.
Materials:
  SU! FULL HEART punch #119883
Colored pencils for coloring
Distressed edges with SOFT SUEDE #115657
I used the LOVE LETTER #117162 DSP
 Retired pink paper used
* The Love Letter DSP works fantastic for vintage style cards. SU! also sell a coordinating 12 x 12" scrapbook #119809 (red polka dots on cream-just like the paper strip above).

Thanks for stopping by, hope this tutorial is helpful and that you can create fantastic Vintage inspired  projects.

1/8/11

ARTISTS PRINTER TRAY- PHOTO DISPLAY

I visisted a popular Craft store before Christmas and came across these cool trays that function as home decor- photo displays. They sold kits that were left over from a class/ workshop they conducted. I bought some trays and one kit for guidance, and constructed some unique/ personal Christmas gifts.

I followed a template from the original kit for the first but,  then tweaked the other trays to make them more my own style and designs. The empty spots (kraft color panels) are meant for photos. I am still gathering photos to put in here. Each section on this tray (they sell many different sizes) are 2.5x 3.5 also same size as and ATC (Artist Trading Card). Love the idea that you can make the sections permanent or temporary. You can switch the panels out for each holiday, season, room, theme, etc... I have seen some fantastic Christmas themed displays. I am working on a Valentine theme right now. I'm sure I will share photos of this later. Thanks for stopping by, I have a workshop to teach, we are making Vintage Valentine ATCs. So fun...

1/3/11

January Recipe- Spaghetti with Crab Meat

I am going to try and post 1 recipe each month. I love to cook, eat, and entertain but I do work outside the home and I don't have time to make everything from scratch. I consider myself a SEMI- HOMEMADE kind of cook. I love quick and easy recipes that have few ingredients, especially on week nights.
Here is the printed recipe card. I changed the pasta from Angel Hair to Spaghetti, used canned tomatoes instead of fresh (due to not having them on hand),Parmesan cheese from jar,  and dried herbs instead of fresh (due to not having them on hand).

Get all your things gathered, prepped, chopped while the water for the pasta is boiling. It really is an easy recipe that can be prepared in 30 minutes. Once water is boiling you can start your sauce. The crab (fully cooked) is added at the end just to get warm.
Garnish the entire dish with Parsley and Parmesan cheese. It truly is delicious. Everyone will ask for seconds, I promise.
TO SERVE: I like to serve my pasta in a large pasta bowl. I found the greatest Pasta serving set on QVC. Its a 6 piece set that contains a large serving bowl that  fits on a black iron footed stand, and four wide pasta bowls. If you are interested in the bowl set that I have,  here is the link.  They are clearanced, less than $30.00 for the set.

1/2/11

Christmas Thank Yous

Finally got around to making some Christmas Thank You cards. I found these chipboard circle phrases at a local craft store last year for 25 cents for 6. I made a New Years resolution to start using some of the stuff I have sitting around here (I hope I can do well with this).

The circle phrases are non traditional Christmas colors (brown, pink, green) and that made them hard for me to use. They colors worked out nice for thank- yous, especially now that the holidays are over. The verses fit perfectly in the center of SU punched ornament. I combined all three colors on all the cards. I used SU! poinsettia embossing folder on the choc. chip portion on the bottom. I found  paisely papers (misc) that contained all the colors and attached to the top. I used  SU! canvas (celery) ribbon near center. I placed decorative clear tape on top of the ribbon. Stamped 'thank you' on 1/2 a white decorative label punchie. Viola. Nothing too elaborate- simple and sweet.

1/1/11

Happy New Year 2011

I apologize for my long absence from the blog world. The holidays were very crazy and I am glad they are over.  Although, I did not post I did do some stamping/ crafting. I did not take pictures of everything (I don't know why). I made some really cute boxes filled with various homemade items like earrings, frames, journals, cards, magnets,  and clips for 3 young "tween girls". I also made various gift tags and magnetic picture frames for all my family members. My Christmas cards were a hit...
 I sent out quite a few cards so I did them in an assembly line fashion. It took me quite a few weekends to finish from the stage in the above picture. I printed all the B & W photos myself (3x3) then tinted all of them using distress ink (Vintage Photo). I made equal amounts of  cards in Always Artichoke and Cherry Cobbler .
 Here is a close up of the finished project. I used 4 spools of red/ green ribbon from SU! by the time they were all done. I found these adorable mini candy canes at a local craft store in the miniature/ doll house section. You can really find some adorable things in that section. This photo does not show the distressing of the photo too well.
Here is a side view of the card. I had to explain to many people (non stampers) that is was an easel card. Thanks for stopping by. Happy New Year!

11/1/10

Halloween Fun

                              Had a "Hauntingly Fun" weekend. Hope yours was a "Spooktacular" as mine.

10/31/10

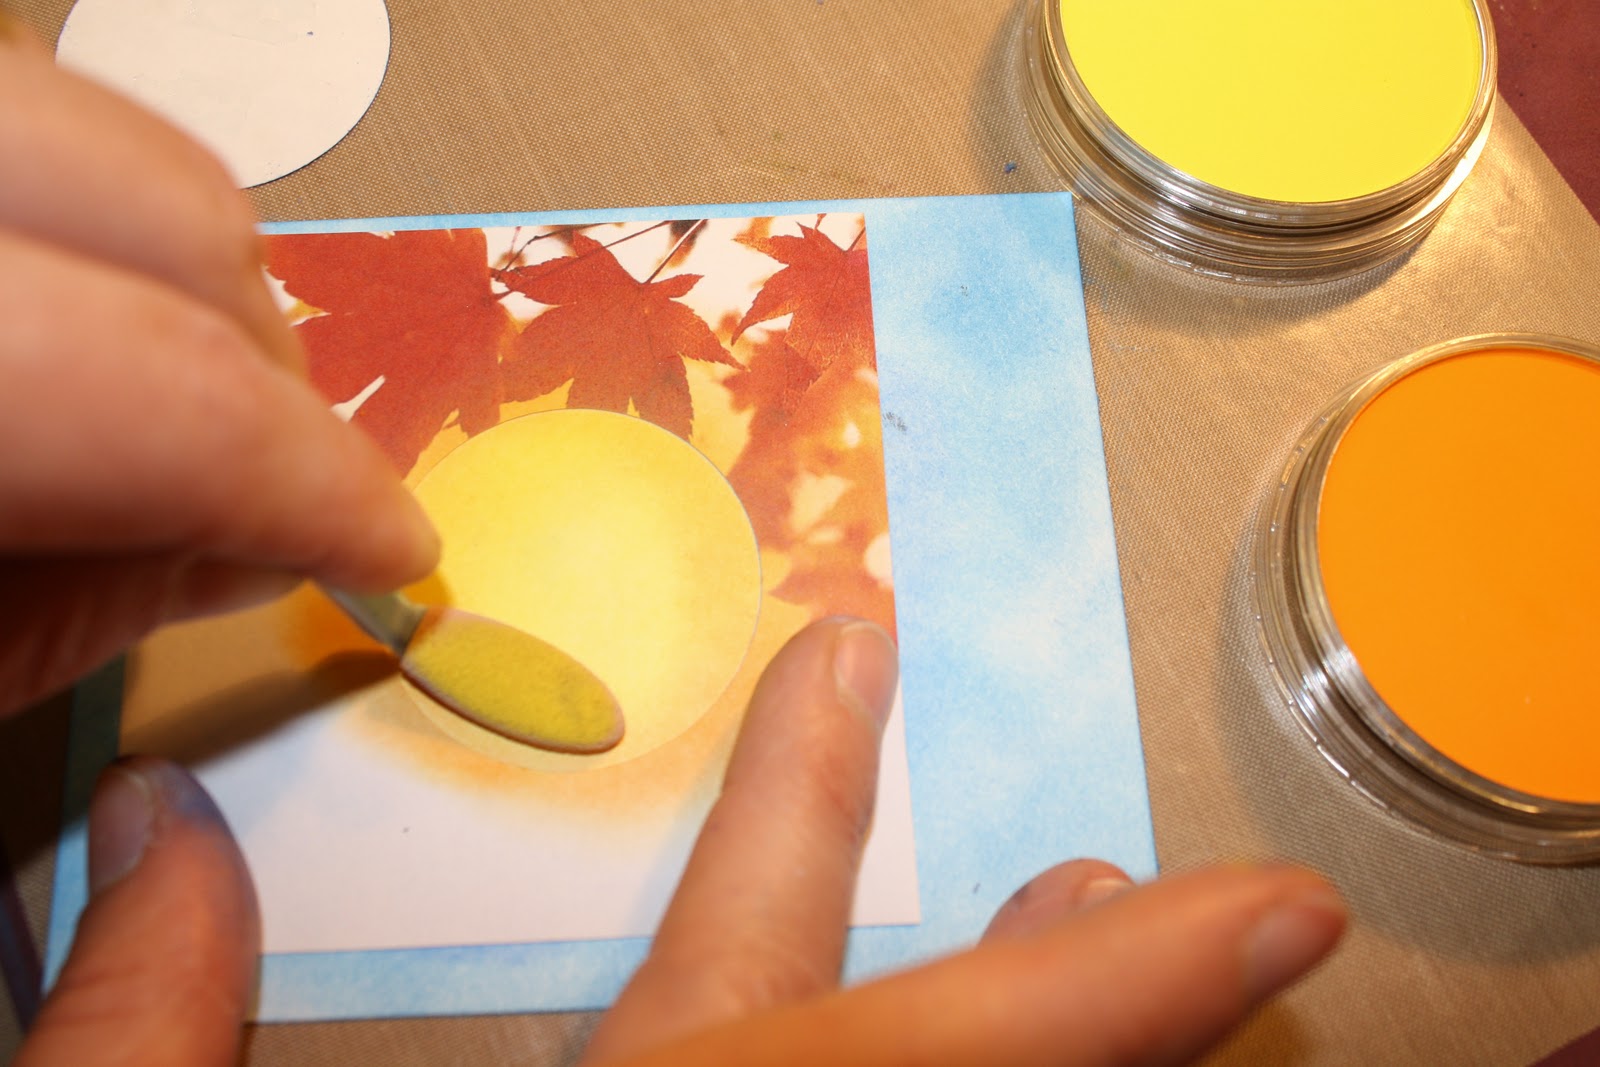
I'm going to share a new way for coloring your artistic creations-PAN PASTELS. I have recently discovered them and cannot tell you how fun they are to use. They are a type of chalk (Pastel) that you apply with a sponge tipped applicator. The applicators have multiple sized/ shaped tips. They dry very fast and do not have to be sprayed to keep them from smearing or wiping away. Let get started with a quick tutorial, shall we?

Here is a look at the Pastels. They are very large and can be stacked or placed into this plastic tray. (They kinda remind me of  loose powder makeup containers.) You can see (kinda) the applicators in the black cup behind the pastels.

I wanted to make a moon as the center of this image so I punched a 2" circle out of scrap paper  and placed it in the center of my cut cardstock as a mask. I started with darker blue and  purple near the edge of the punched circle mask to start creating the night sky. I used the applicator and rubbed pastel colors in a circular pattern and blended as I went.

 When you achieve the look you want peel the circle up and place the reverse circle (the piece of scrap paper you punched your 2" circle from) over top to mask out the sky that you just chalked.


I used both a bright yellow and an orange yellow to chalk the details of the moon. Going darker (from outer edge) to lighter (inner edge).

Here is what it looks like when you are at this point.

Now you are ready to stamp. This technique works best with solid image stamps like this Stampin' Up! MIDNIGHT RAVEN #116529 single stamp. Use a bold dark color like Stampin' Up!'s BASIC BLACK CLASSIC INK #101179.
Here's what it looks like at this point.

I added some bats from Stampin Up!'s set WICKED COOL #120600 around the moon on both sides.I stamped some random tree branches.  I matted the image on navy and cajun cardstock. I added some retired Stampin' Up! buttons at the bottom.  


Viola!


10/13/10

ALL WRAPPED UP

 I used a  movie theater- size MIKE & IKE to create this spooky candy wrapper/ gift. The box is approximately 7.25 x 3 inches. I wrapped the box of candy with Nite Owl paper.  I cut the small pieces for the sides of the box seperately. Used decorative edged scissors to cut the label and then added a skull label found on one of the sheets from this pack of  "spooky...ooky" paper.


 I added color and depth with the STAMPIN' PASTELS #120962 (all new colors in this kit). Ran some Cajun Craze cs through the machine to emboss with the new embossing texture folder SPPIDER WEB #120889. Attached chalked image to box front with Dimensionals #104430 so that ribbon would lay flat under the image.

10/11/10

STAMP CLUB PROJECT- PAPER PUMPKINS

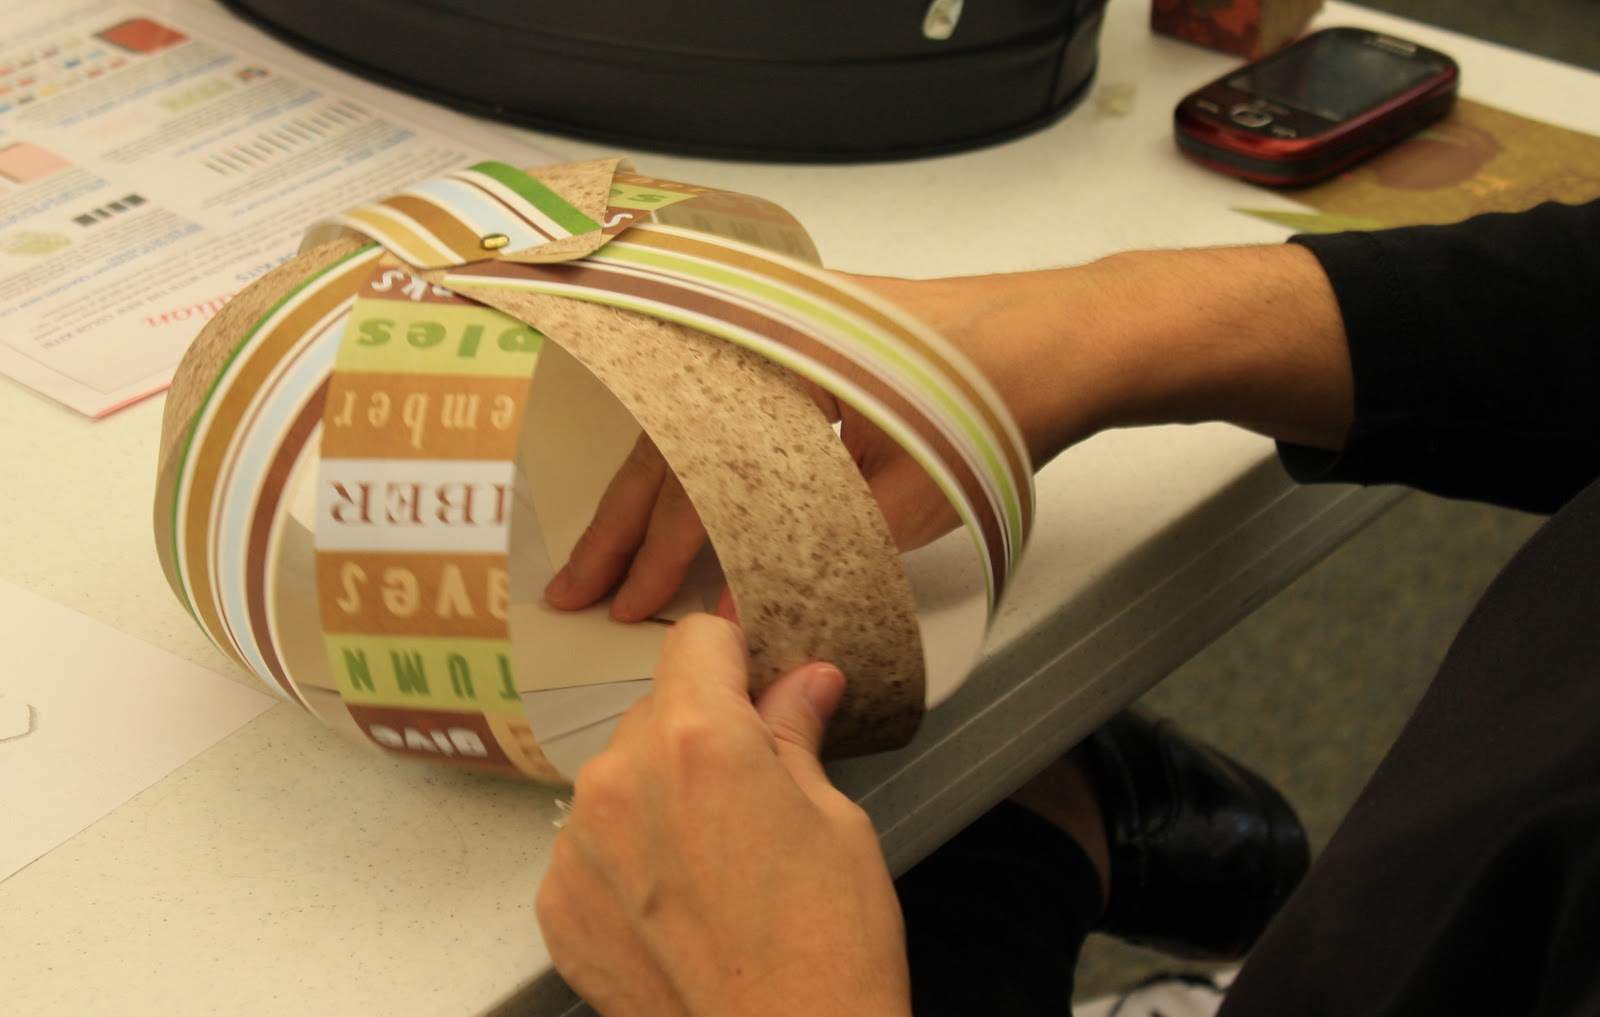
We made these paper pumpkins last Saturday at my last Stamp Club meeting. (A similar but smaller pumpkin is shown on page 27 in the Idea Book and Catalog).  I used misc. fall themed papers, large paper connectors (brads), craft wire, tulle,  and paper leaf cut outs. Absolutely "NO STAMPING" on these. The really are simple to make, I made all these (pictured above) with the leftovers not used at the workshop (I cut way too many). Thicker paper and cardstock work better than one sided paper. You can stuff these with crumbled tissue paper to help keep its shape. Everyone individualized theirs with color choices, leaf choises, and tags.

Use 9-15 2x12 inch strips of cardstock and/ or designer papers. Lay the strips in design order (A-B-C pattern works great). Punch both ends 1/4 inch from ends and centered with CROPODILE #108362. Place brad in one end to hold pieces together. Flip strips over (white side or non dominant side face up). Take first strip on top and start turning into round shape, add brad. Move in sequence around, taking the next strip then the next until all up, and attached with brad. Fasten brad. take 6 inch piece of craft wire and wrap one time around brad head on top. Punch some leaves or tags and thread onto wire. Curl wire ends using stylus or dowel (curling the wire will hold your tags and leaves on but also add dimension and detail). Spread the strips out evenly and form to look like pumpkin. See pictures.
 Here are some close- up pictures of a couple pumpkins. You can see the leaf, wire, and tag details. The one on the left is using one (busy) pattern paper with a contemporary style- clean/ simple. The pumpkin on the right is more country/ shabby style. Scroll back to first picture and you will see a couple pumpkins done with non traditional fall colors. They are done with blue, green, brown, white. I also made a Halloween style- candy corn, white tulle and black ribbon and lace.